How to Install Home Security Cameras Outside: Easy Steps
Nearly 99 million households use smart security cameras, and that number is expected to reach 180 million by 2027 [1]. Installing outdoor security cameras may seem challenging, but it’s easier with some planning and the right tools. With a few simple steps, anyone can set up a camera system to monitor their property effectively. This guide will cover everything needed, from selecting the best camera locations to practical installation tips. Keep reading to learn how to install home security cameras outside!
Key Takeaways
- Choose between wired and wireless cameras based on specific needs.
- Mark camera locations to ensure the best coverage with minimal glare.
- Regularly check and maintain the cameras for clear video quality.
General Preparation
Choose Your Camera Type
About 40% of security cameras sold today have smart features, and that number keeps growing [1]. When choosing between wired and wireless cameras, there are some clever options to consider. Wired cameras provide a strong connection, while wireless ones allow for more freedom in where to place them. For those who enjoy smart home gadgets, AI-enabled cameras can even tell the difference between a person and a pet!
When picking a camera type, it helps to think about your home’s layout and the areas to watch. It’s also good to consider if there might be a need to add more cameras later. Some people find that a mix of wired and wireless cameras works best for them.
Plan Camera Locations
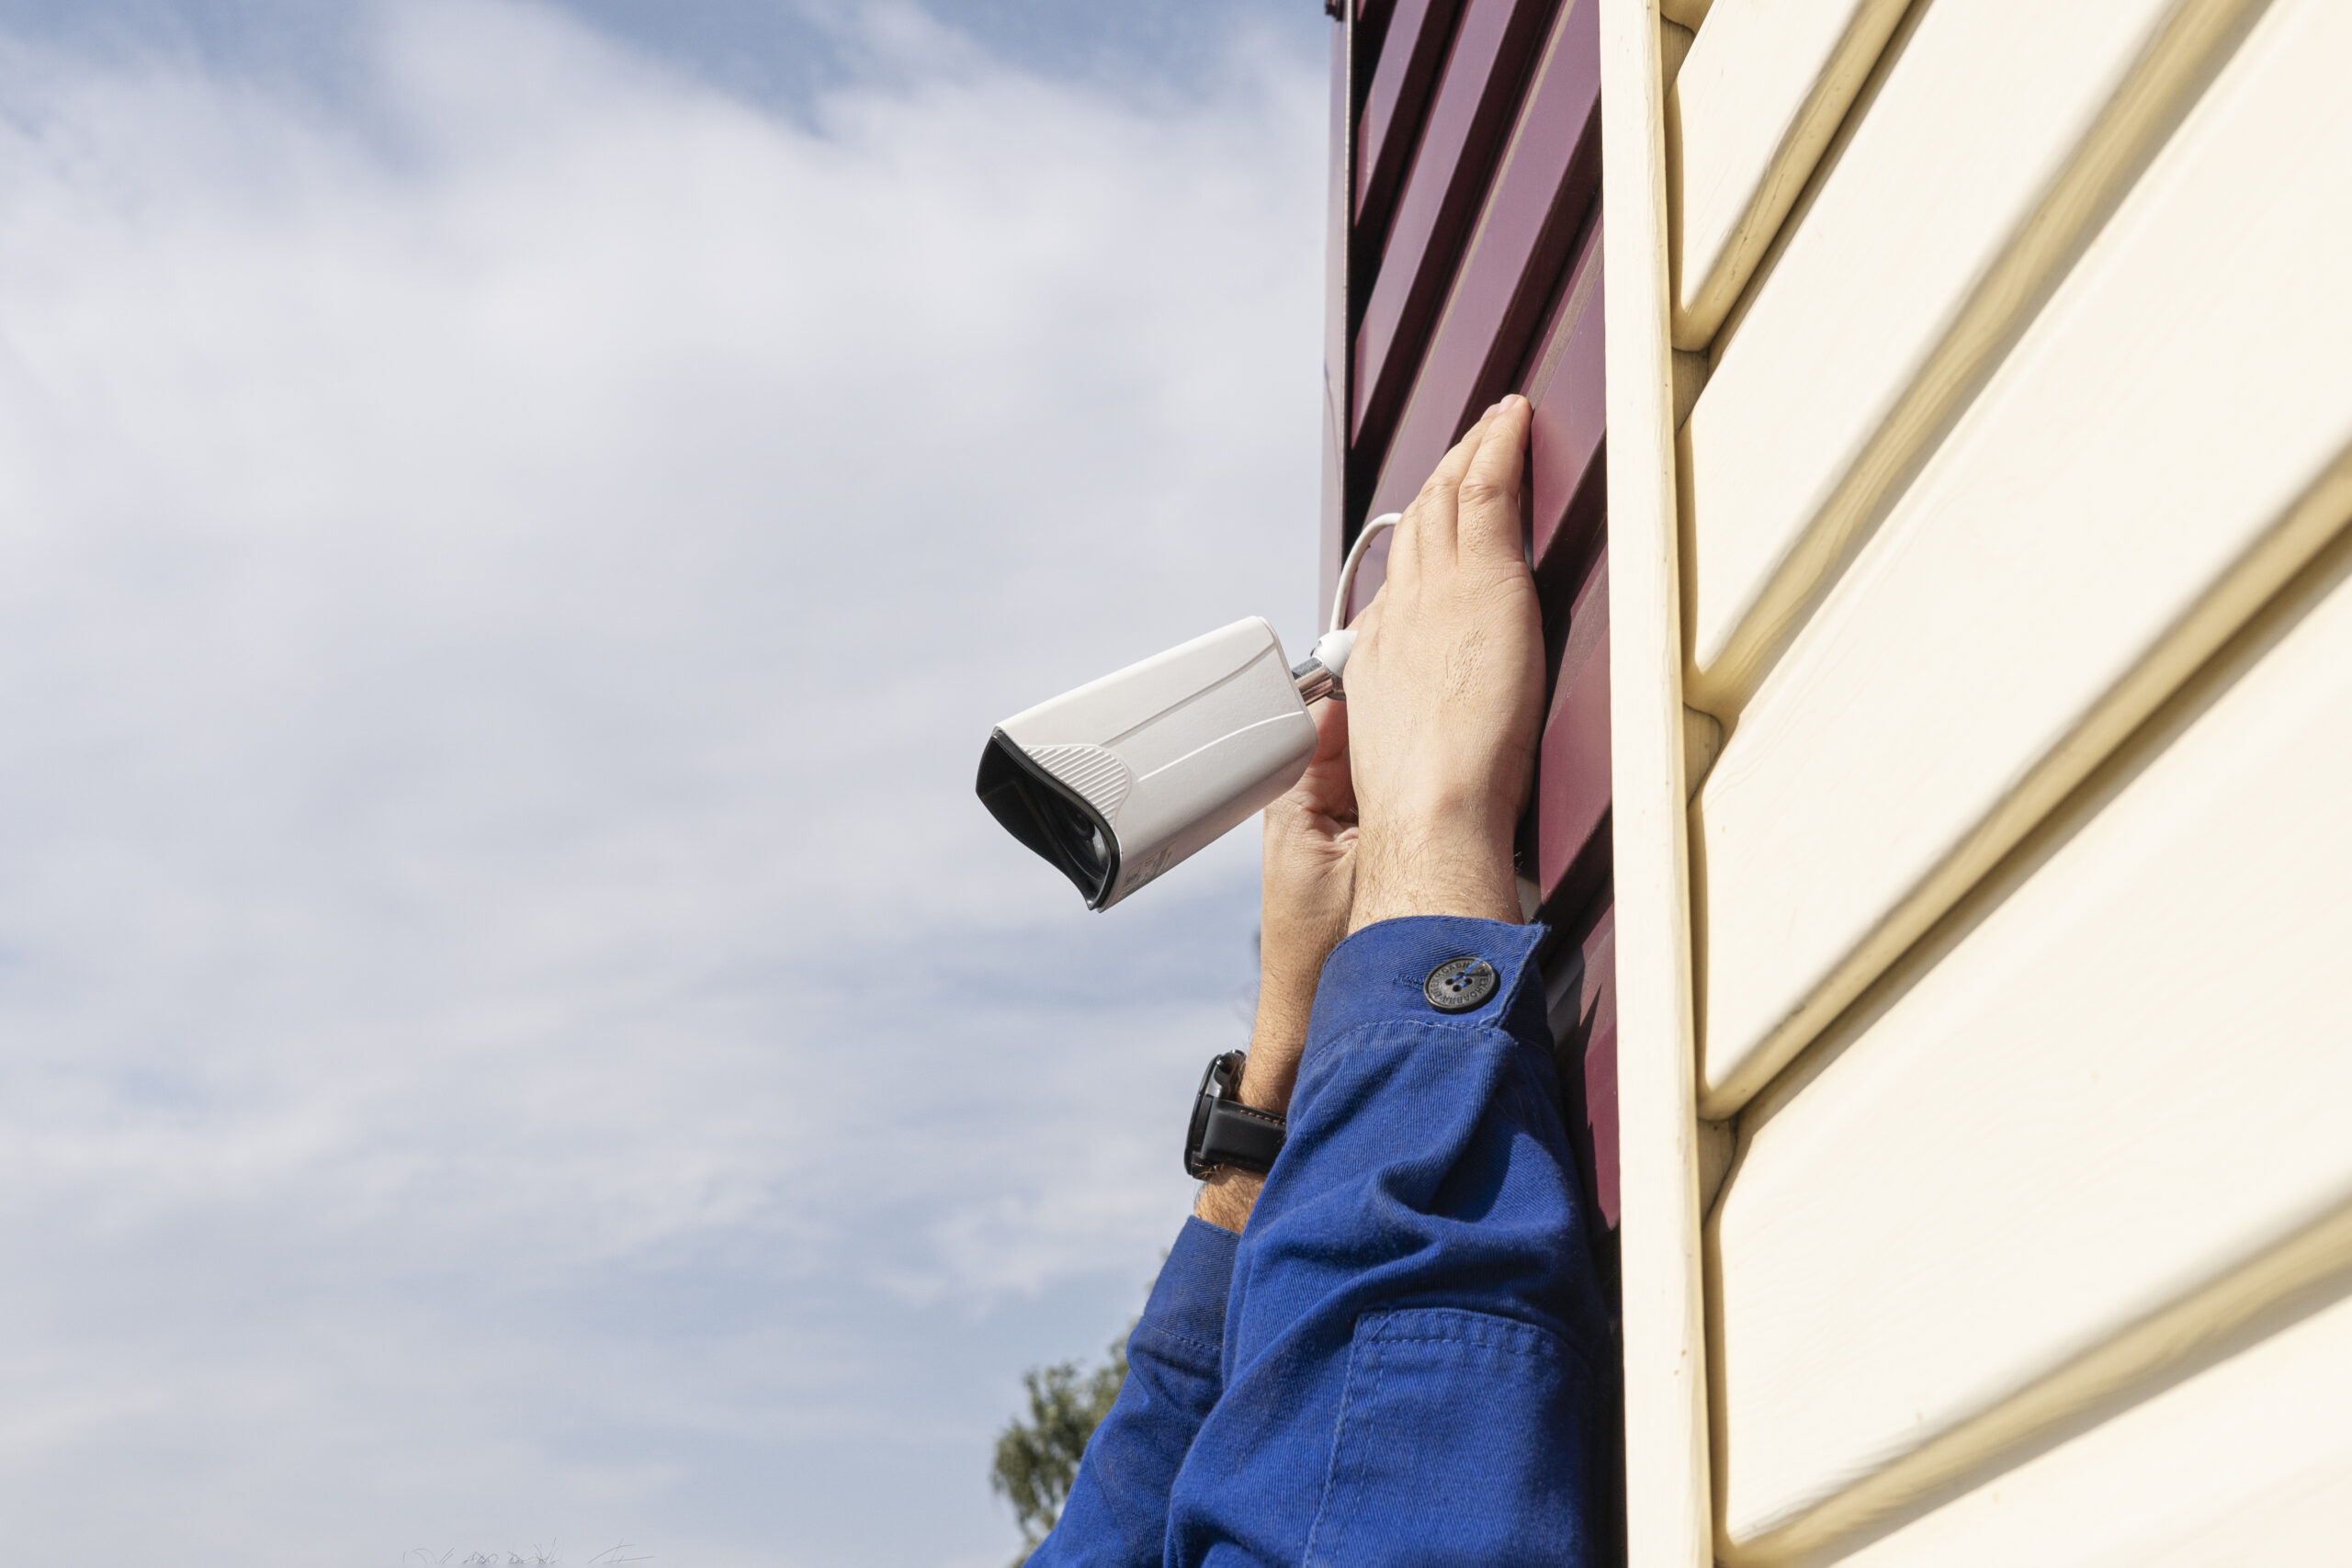
Next, it’s time to think about where to put the cameras. Look for spots that can watch over entry points like doors and driveways. It’s important to place cameras at angles that capture movement but are also high enough to prevent tampering. A good height is around 9 to 10 feet for the best view. Keeping the cameras out of direct sunlight helps reduce glare, making sure they can record clear images during the day and night [2].
Also, check for any blind spots in the yard or around the house. A smart way to choose camera locations is to walk around the property and think about where you would feel the safest. It helps to take notes on possible spots and remember to account for trees or bushes that could block the view.
Gather Tools and Equipment
Before starting, gather these tools:
- Screwdriver
- Power drill with masonry bits
- Stud finder
- Level
- Mounting hardware (usually included with the camera)
Having the right tools makes putting up the cameras easier and faster. If using a cordless power drill, make sure it’s fully charged. When drilling into a wall, pick the right bit for the surface, whether it’s wood or masonry. If unsure what the wall is made of, test a small area first. This way, there won’t be any surprises when it’s time to mount the camera.
Installation Steps
For Wireless Cameras
- Download the Camera App: Install the app that comes with the camera on your smartphone. This app helps with setup and monitoring, often providing step-by-step instructions to guide you through the process.
- Power Up the Camera: Plug in the camera and connect it to your Wi-Fi. Follow the app’s instructions to sync your devices. It’s best to be near the camera for an easy connection.
- Select an Optimal Location: Pick a spot that avoids glare and covers the area you want to watch. If needed, use a ladder to reach high places. Testing the camera’s view from the ground before mounting helps ensure it will see everything needed.
- Mark Drill Points: Press the camera’s mounting bracket against the wall and mark where to drill holes. It’s a good idea to double-check that the bracket is level before making any holes.
- Mount the Camera: Drill the holes, add anchors if necessary, and attach the camera bracket to the wall. Finally, secure the camera to the bracket. Once it’s mounted, adjust the camera angle to get the best view of the area.
For Wired Cameras
- Choose Installation Location: Just like with wireless cameras, find a good spot that has clear visibility and easy access to power. Make sure the location allows for easy running of cables.
- Check Existing Wiring: If there are already cables in place, use them to save time and energy. This can make the installation easier and cut down on extra drilling.
- Drill Holes for Mounting: Mark where to drill based on the mounting bracket. Make sure the bracket is level. Use masonry bits if drilling into brick or concrete. A stud finder can help find the best spots for drilling.
- Run Cables: Feed the power and video cables from the camera through the holes into the home. Keep the cables organized to avoid any mess.
- Connect to Monitoring Source: Attach the cables to your Digital Video Recorder (DVR) or Network Video Recorder (NVR) as explained in the manual. Following the instructions carefully ensures everything is connected correctly.
- Final Adjustments: After everything is connected, adjust the camera angle for the best coverage before securing it completely. It’s useful to check the camera’s view on the monitor before finishing the setup.
Additional Tips
- Weatherproofing: Seal all outdoor connections with weatherproof connectors or caulking to keep moisture out. This protects the equipment and helps it last longer.
- Testing: After installation, check each camera’s view through the app before finalizing their placements. Make changes as needed to ensure the best coverage.
- Regular Maintenance: Clean the cameras and check they are working well from time to time. Dust and dirt can accumulate on the lenses, so keeping them clean is important for clear video.
Key Technologies
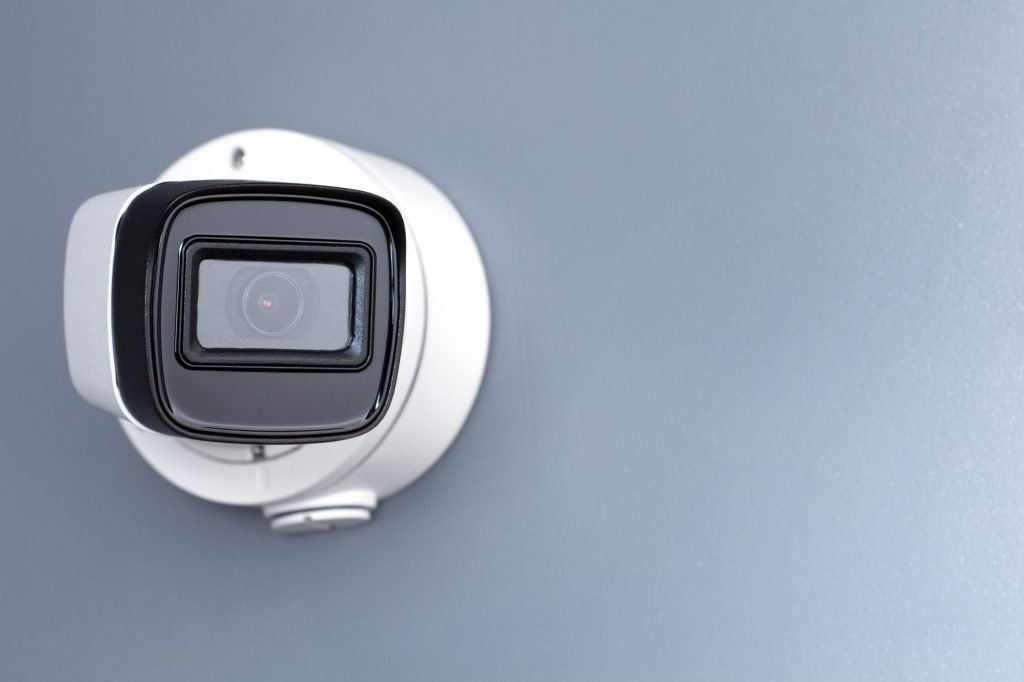
- CCTV: This traditional type of video surveillance is reliable and works well for both homes and businesses.
- IP Cameras: These modern cameras offer high-definition video and advanced features, making them great for thorough security needs.
Using these tips and tools, homeowners can create a safer space. Taking the time to plan and install outdoor cameras can bring peace of mind.
FAQ
How should I choose between indoor security cameras and outdoor cameras for my front door and main entrance? What are the pros and cons?
The main difference is weatherproofing. Outdoor cameras have higher ip ratings to handle rain and temperature changes, while indoor cameras work best in controlled environments like your living room. For your front door, go for outdoor cameras with night vision and motion sensor features. They cost a bit more but handle weather better than indoor security models.
What’s better for my security system – a wireless camera that’s wire free and battery powered, or a wired security setup with power cable connections?
Each type of camera has its perks. Wire free cameras are super easy to install and move around, but you’ll need to change batteries or use autorenew packs. Wired security cameras need a constant power source through a power adapter or power outlet, but they’re more reliable and don’t need battery changes. Think about your power outdoor needs and available power supply before deciding.
Could you provide a step guide for using a spirit level and drill bits to install cameras on exterior walls?
First, use your spirit level to mark where you’ll drill holes. For exterior walls, you’ll need masonry drill bits. Make the holes for your camera mount, keeping your type of camera in mind. If you’re installing a poe camera or network video system, you might need to drill a hole for the ethernet cable too. Always double-check your markings before drilling!
What are the best spots for placing cameras to keep an eye on valuable items while maintaining a clear view and good field of view?
Focus on high-traffic areas like your front door and main entrance. Install cameras at a height where they can keep an eye on the whole area but stay out of reach. Avoid glare by not pointing cameras directly at bright lights or the sun. A video doorbell can complement your camera systems by watching package deliveries.
How do I store video from my ip cameras and video doorbells? Should I use a video recorder or cloud storage?
Most ip camera systems let you pick between a network video recorder for local storage or cloud storage for remote access. Cloud storage is super convenient but might have monthly fees. Local storage through a video recorder gives you more control but needs some tech know-how to set up.
Any tips for how to hide security camera cables when installing a wired system?
You can run camera cables through your exterior walls, use a coat hanger to fish them through tight spots, or tuck them along trim work. For ethernet cable runs, plan your route carefully from each camera install location to your power source. Sometimes it helps to install cameras near existing power outdoor connections to make things easier.
What’s essential to know about installing a watchful eye near indoor security or outdoor camera setups?
When installing cameras, think about both security and convenience. You want good coverage without making holes everywhere. Use a mix of outdoor camera and indoor cameras to create a complete security system. Remember that cameras near living room areas should respect privacy while still keeping an eye on important spots.
Sum Up
Installing outdoor security cameras is an easy process that anyone can handle with the right tools and planning. By choosing the right camera types and locations, using the proper equipment, and following the necessary steps, homeowners can make their properties safer. Regular maintenance and testing keep the cameras working well over time. With a little effort, anyone can enhance their home security and feel more secure in their surroundings.
References
- https://electroiq.com/stats/home-security-camera-statistics/
- https://www.homedepot.com/c/ah/how-to-install-a-security-camera/9ba683603be9fa5395fab903516a307