How to Install Home Security Cameras Outside: A Simple Step Guide
To install home security cameras outside, it’s important to know where to put them. According to a study, homes with security cameras are less likely to be broken into. This shows that having cameras makes a big difference in keeping homes safe. In this article, readers will find simple steps to install security cameras outside their homes(1).
At Shielded Residence, we understand that every homeowner’s security needs are unique. Our home security solutions, including professional installation and maintenance, are designed to help you maximize the safety benefits of your outdoor cameras. Keep reading to learn the installation process of security camera.
Key Takeaway
- Choose the best spots to place your cameras for maximum coverage.
- Use the right tools to install the cameras properly.
- Test the cameras to make sure they work before finishing the installation.
Step 1: Planning and Preparation
Choosing the right spot for security cameras is the first important step in keeping a home safe. Think about the areas that need to be watched closely. Common places include the front door, back door, and driveways. These spots are often where people enter and leave. It’s also good to cover windows or side entrances that might be hidden from view.
When selecting a location, make sure the cameras do not point directly into neighbors’ homes. This helps to respect their privacy and keeps everyone comfortable. Finding a balance between security and privacy is key.
Next, check if the camera requires a Wi-Fi connection. If it does, make sure the Wi-Fi signal is strong in the chosen area. A good tip is to have an upload speed of at least 2 Mbps for wireless cameras. This speed helps the cameras send clear video to your phone or computer. If the signal is weak, consider using wired cameras, which can connect directly to the internet through cables. This can often lead to a more reliable connection.
To ensure seamless connectivity and optimal performance, Shielded Residence provides expert guidance on selecting the right camera type and placement. Whether you choose wireless or wired systems, we can help you make the most informed decision.
Taking these steps during the planning phase helps ensure the cameras will work effectively once they are installed.
Step 2: Gather Tools and Materials
Before starting the installation, it’s important to gather all the tools and materials needed. Having everything ready will make the process smoother and quicker. Here’s a list of tools that should be prepared:
- Power drill: This will help to make holes for the screws.
- Drill bits: Masonry bits are especially important if the walls are made of brick or concrete.
- Screwdriver: This is necessary for securing the camera mount.
- Level: A level ensures that the camera is straight and properly aligned.
- Ladder: This helps reach high areas safely.
In addition to tools, gather the materials needed for the installation. These include:
- The security camera: Make sure it comes with a mounting kit.
- Power adapter: This is needed if using wired cameras.
- Wall anchors and screws: These will hold the camera securely in place.
It’s best to double-check that all items are on hand before beginning the installation. This preparation not only saves time but also helps avoid interruptions during the setup. Being organized can make the difference between a simple task and a frustrating experience.
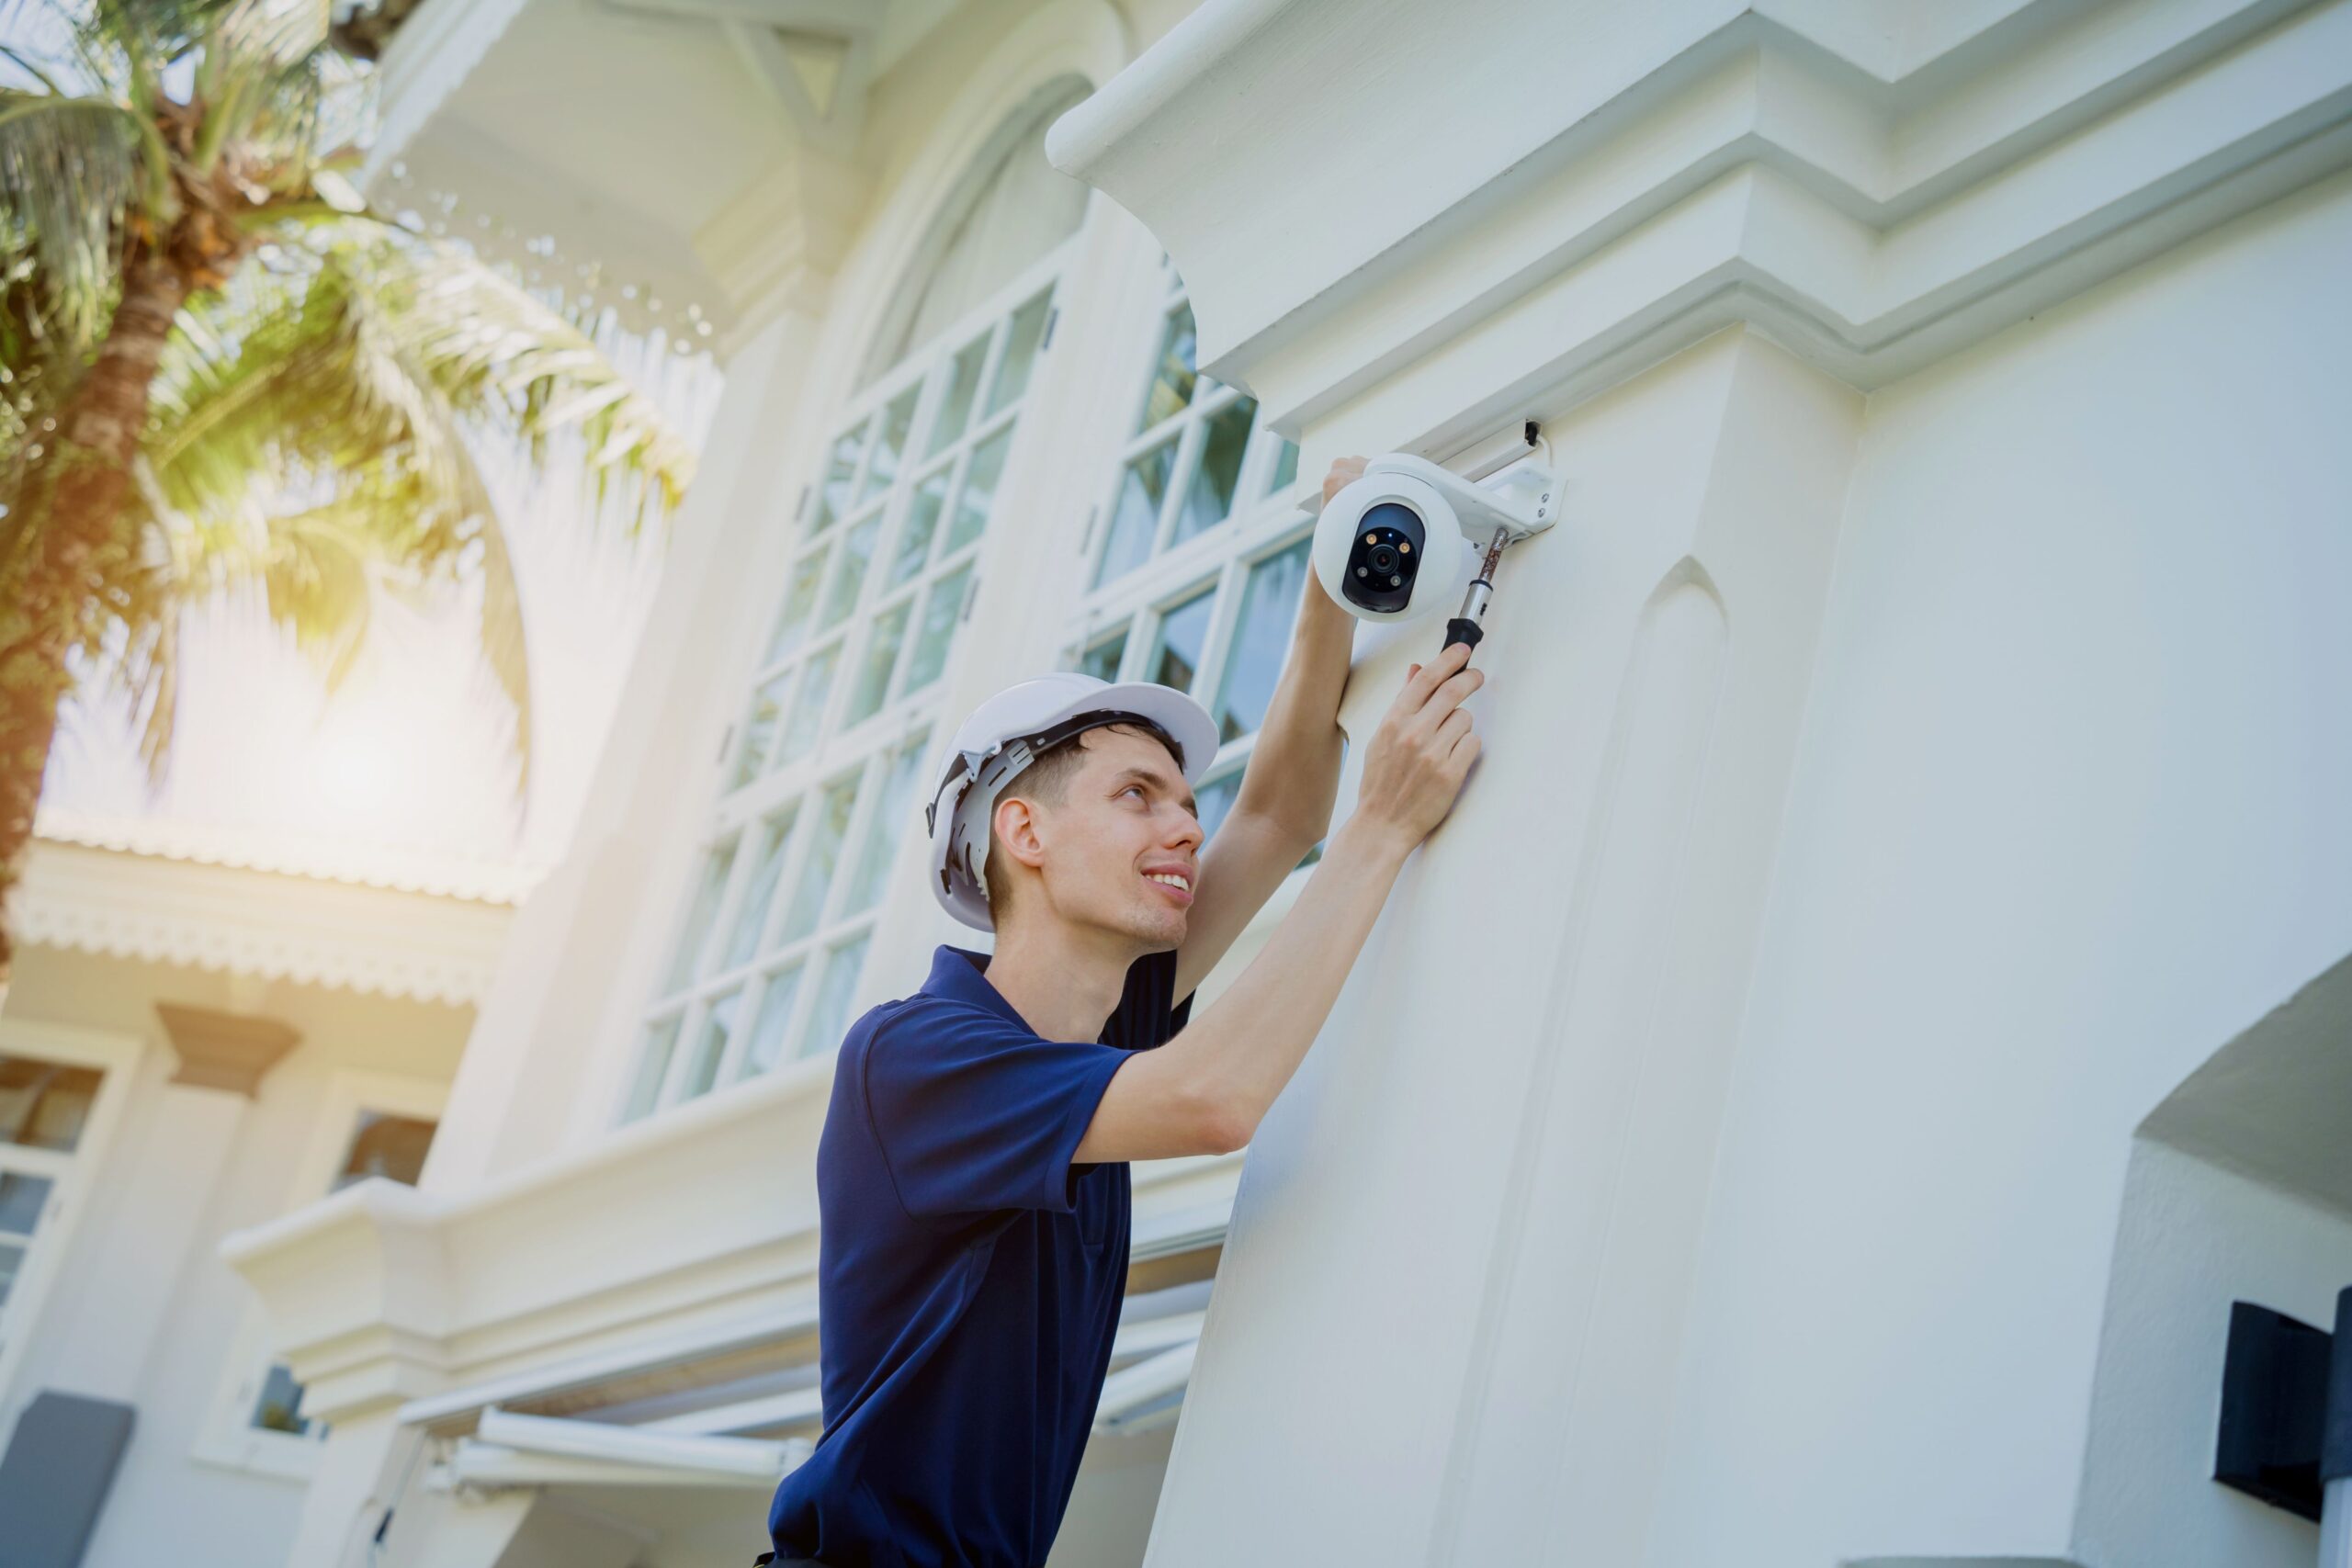
Step 3: Install the Camera
To mount the camera, it’s best to place it at least 8 to 10 feet off the ground. This height makes it difficult for anyone to tamper with it and ensures a better field of view. When choosing the exact spot, use a level to mark where to drill. This helps keep the camera straight. A straight camera captures clearer footage and works more effectively.
After marking the spot, it’s time to drill holes for the screws. Be careful to drill only as deep as needed. If the wall is made of concrete or brick, use masonry bits to make the job easier. Once the holes are ready, secure the camera mount to the wall with screws and anchors. It’s very important to check that the camera is stable and level. A sturdy installation will prevent the camera from moving or shaking, which could blur the video.
Take a moment to step back and look at the setup. Make sure everything looks right. A well-installed camera will help ensure that it captures clear and useful footage of the area you want to monitor.
Step 4: Connect Power and Test
For wired cameras, the next step is to connect the power supply. Run the necessary cables from the camera to the power outlet. Be careful to route the cables neatly to avoid any tripping hazards or damage. If using wireless cameras, make sure they have fresh batteries or are charged properly.
After connecting everything, it’s important to test the camera. Use the mobile app or monitoring system to check if the camera is working correctly. Make sure the camera feed shows up clearly. Adjust the angle if needed to ensure the camera captures the right area. Testing before finishing the installation can save time and hassle later.
If you need assistance setting up or troubleshooting your system, Shielded Residence offers professional installation services and ongoing support to ensure your cameras are functioning perfectly.
Step 5: Customize Settings
Another useful setting is adjusting how often the camera records video. Users can choose to have it record continuously or only when movement is detected. This customization can be very beneficial for monitoring busy areas, like driveways or front doors.
Additionally, users can set notifications to receive alerts when something unusual happens. This way, they can stay informed about any activity around their home. By taking the time to customize settings through the app, users can ensure their security camera captures what is most important to them.
Best Practices for Placement
When placing security cameras, it’s important to avoid direct sunlight. Sunlight can create glare, making it hard to see what’s happening in the footage. If the camera is aimed directly at the sun, the video quality may drop. To prevent this, consider placing the camera on a wall that faces away from the sun during peak hours.
Additionally, protecting the cameras from rain and snow is essential for their longevity. Installing the cameras under eaves, awnings, or in shaded areas can help shield them from harsh weather. This protection can prevent water damage and help maintain the camera’s functionality over time.
Visibility is another key factor when placing cameras. Making the cameras visible to potential intruders can deter them from trying to break in. If a thief sees a camera, they are more likely to think twice about their actions. However, it’s crucial to avoid pointing cameras at private areas, such as bathrooms. This is important for respecting the privacy of family members and guests.
Here are a few tips for effective camera placement:
- Cover Entry Points: Focus on areas like doors and driveways.
- Avoid Obstructions: Make sure trees, fences, or other objects do not block the camera’s view.
- Check Angles: Adjust the camera’s angle to cover as much area as possible while still being mindful of privacy.
By following these best practices, users can help ensure their security cameras are effective in monitoring their homes while respecting privacy(2).
Legal Considerations
Before installing security cameras, it is important to check local laws. Many places allow homeowners to have cameras on their property to improve safety. However, filming neighbors without their permission may not be allowed. Understanding these rules can help avoid legal issues later on. It is wise to consult local regulations or even seek legal advice if unsure. This way, homeowners can enjoy their security system without worrying about breaking any laws.
Another important point is that some areas have specific rules about where cameras can be placed. For instance, some laws might restrict cameras from facing public streets or sidewalks. Homeowners should ensure their cameras do not capture footage of neighbors’ private areas to respect their privacy. By following the law, homeowners can make sure their security cameras serve their purpose without crossing any boundaries.
Shielded Residence is committed to helping homeowners stay compliant with surveillance regulations. Our team can provide guidance to ensure your security system respects legal and privacy boundaries.
Conclusion
In conclusion, installing outdoor security cameras can be easy with the right steps. Planning where to place the cameras, gathering the right tools, and following the installation steps are key. Remember to check local laws and customize the camera settings for the best use. Keeping homes safe is important, and security cameras can help do just that.
At Shielded Residence, we’re here to support your journey toward a safer home. From selecting the right equipment to professional installation and 24/7 monitoring, our tailored solutions are designed to give you peace of mind. Explore our offerings today to take the next step in securing your home.
FAQ
Where Should I Place My Outdoor Security Cameras?
Focus on entry points, front doors, and ground floor windows. Install cameras to monitor your front yard and main entrance while maintaining a wide angle field of view. Avoid blind spots around detached buildings and common areas. Keep cameras 8-10 feet off the ground for optimal viewing angle.
What Tools Do I Need for Installing Security Cameras Outside?
Gather a power drill, drill bits (including masonry drill bits for exterior walls), spirit level, electric screwdriver, and mounting template. For wired cameras, you’ll need ethernet cable and camera cables. Keep extension cables handy if power sources are far from camera locations.
How Do Power Options Work for Outdoor Cameras?
Choose between wired cameras that need a power cable and power adapter, or wire free battery powered options. Wired systems connect to a power outlet or power source. Consider power outdoor requirements when deciding between wireless camera or wired security solutions.
What Weather Protection Should Outdoor Cameras Have?
Look for cameras with proper ip rating to withstand outdoor elements. Outdoor security cameras need protection from direct light and weather exposure. Position them to avoid glare from light sources and capture clear footage in all conditions, including night vision capabilities.
How Do I Connect and Store Security Camera Footage?
Most security camera systems connect through wireless connections to a dvr box or network video recorder. Choose between cloud storage or local storage with a hard drive. Access camera feed through a mobile app to keep an eye on your property remotely.
What’s the Basic Installation Process?
Follow these simple steps: First, drill pilot holes and drill holes for the camera mount. Hold the camera in place to verify the point of interest is covered. Connect the camera to power supply and ensure cameras work by checking video recording quality. Installation of security cameras typically takes 2-3 hours.
How Do I Hide Security Camera Wires Outside?
Conceal security camera wires along exterior walls using cable management solutions. Run camera cables through walls when possible. A coat hanger can help guide wires through tight spaces. Consider wireless security cameras if wire concealment is too challenging.
What Privacy Considerations Should I Follow?
Ensure security cameras outside your house don’t capture private spaces or neighboring private property. Adjust the viewing angle and camera placement to respect privacy while maintaining surveillance of your outdoor areas. Follow local regulations for video surveillance.
References
- https://wasserstein-home.com/blogs/smart-home/how-to-install-an-outdoor-security-camera-complete-guide
- https://mwg.aaa.com/home-security/install/premium-outdoor-camera