Optimize Security: Indoor Camera Installation Tips
Installing indoor camera systems helps make homes safer. Homes without security cameras face a higher risk, with break-ins being three times more likely. This statistic emphasizes the need to position cameras to oversee critical areas in a home. [1] Proper placement can enhance protection and ease worry.
For anyone looking to improve their home security, understanding installation best practices is essential. Safety starts with informed choices.
Keep reading for useful installation tips for indoor cameras effectively and ensure a more secure living environment.
Key Takeaway
- Place cameras at entry points and common areas for best coverage.
- Install cameras 8 to 10 feet high for a wider view.
- Regularly check camera functions to ensure they work well.
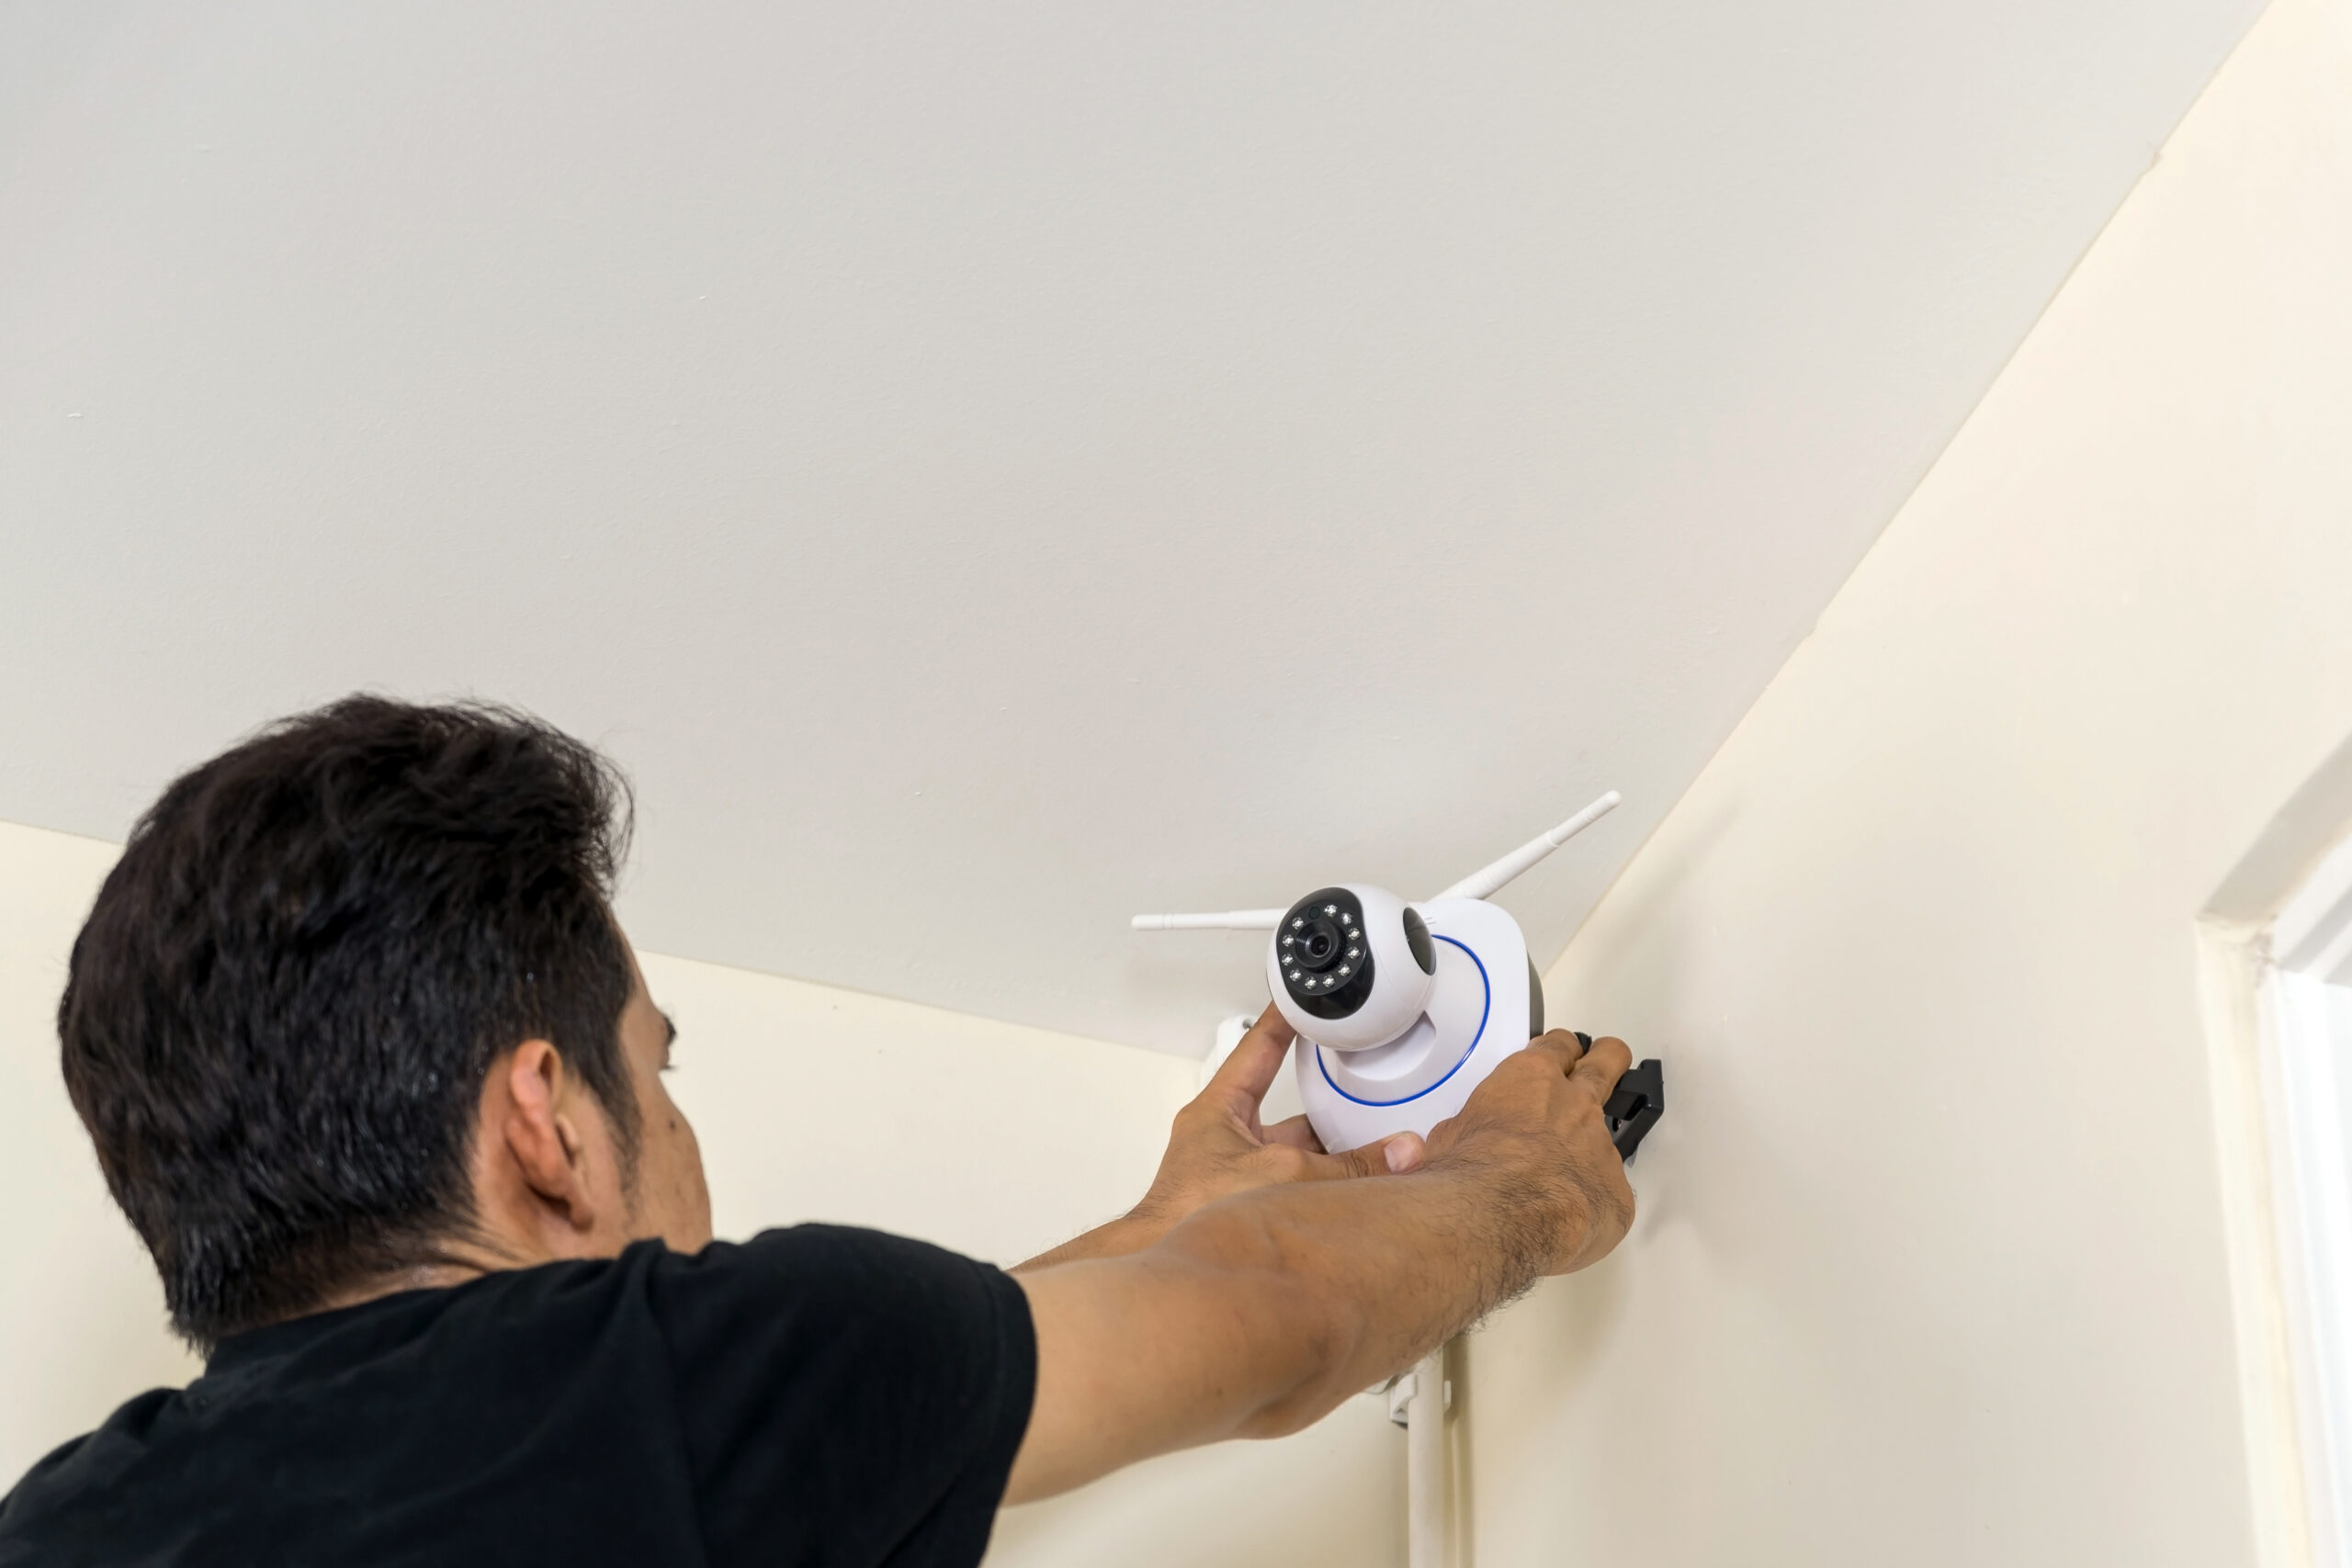
Choose the Right Locations
At Shielded Residence, we understand the importance of strategic placement. Our custom solutions help homeowners identify the best locations for cameras, such as entry points and high-traffic areas, ensuring no blind spots are left uncovered.
First, cameras should be placed at entry points, like doors and windows. These are the spots where most people come and go. By placing cameras there, it becomes easier to catch anyone trying to break in.
Next, common areas need cameras too. This includes busy places in the house, like living rooms and hallways. Lots of activity happens in these spaces, so monitoring them is smart. This helps capture faces and actions and keeps an eye on what’s happening in the home.
It is also crucial to avoid putting cameras in private places. Bedrooms and bathrooms should be off-limits. This respects everyone’s privacy and follows the law. Keeping cameras out of these spaces makes sure everyone feels comfortable at home.
Optimal Height and Angle
The height and angle of cameras can really affect how well they work. It is best to install cameras about 8 to 10 feet high. This height allows a wider view of the area and makes it harder for anyone to tamper with the camera.
Next, the angle matters too. Cameras should be angled downwards at about 15 to 30 degrees. [2] This angle helps the camera notice movement better. It also reduces false alarms from tiny things moving in the background, like pets or curtains blowing in the wind.
Regularly check to make sure the cameras are still at the right height and angle, especially after any changes in the room. Making small adjustments can really improve how well the cameras work.
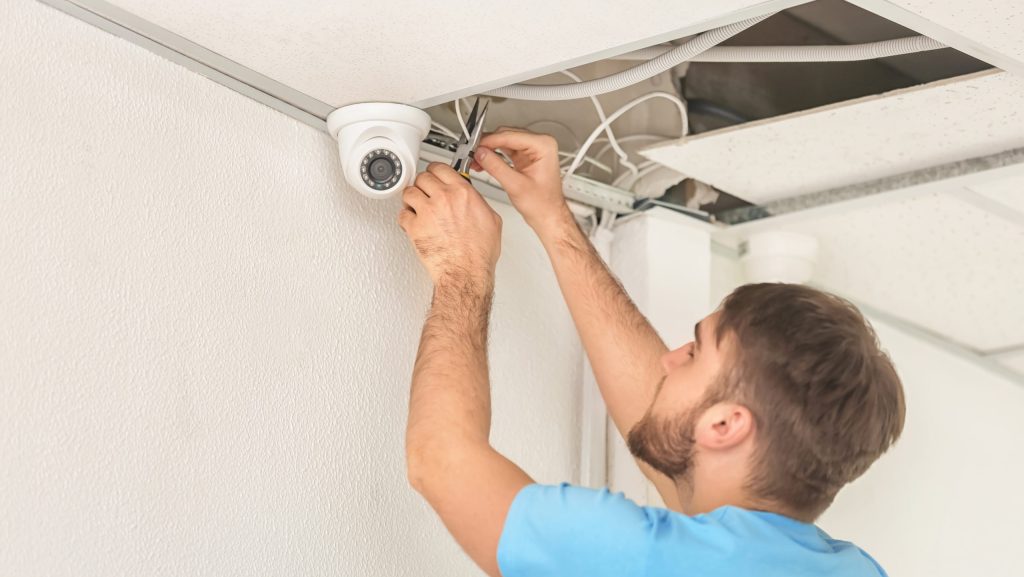
Test Before Permanent Installation
Before finalizing the camera setup, it is smart to test everything first. Start by connecting the camera to Wi-Fi. This allows checking the live video feed to make sure everything works as it should.
It is also helpful to use temporary mounting, like tape or a temporary mount. This keeps the camera in place while testing its position. Trying out different locations helps find the best spot without drilling holes yet.
After testing, adjustments might be needed. If the camera doesn’t capture the view well, it can be moved. This step is important because it saves time and effort later when everything is finally installed.
Consider Lighting Conditions
Lighting can greatly affect how well cameras work. It is important to avoid placing cameras in bright sunlight. Direct light can cause glare, making it hard to see the video clearly. Instead, find places with soft or indirect light. This helps provide clearer images without any problems.
Also, consider cameras with night vision capabilities. These cameras can see in low light or darkness. If night vision isn’t available, adding outdoor lights near the camera can help. Good lighting improves the camera’s ability to capture clear footage at night.
Review lighting conditions throughout the day as the sun moves. This will help find the best spot for the camera, making sure it captures the best images at all times.
Eliminate Blind Spots
After installing cameras, it is important to check for blind spots. Blind spots are areas not covered by the camera’s view. To find them, a person can walk around the area after installation. This helps spot any gaps in coverage. Adjusting the camera position can help cover these areas.
Using corners is also a smart strategy. Corners allow cameras to see more of the room, making them more effective. This helps monitor larger areas without needing extra cameras.
Regularly checking camera coverage is important. This ensures that all spaces are monitored well. If any changes happen in the room, like new furniture, it’s a good idea to revisit the camera positions to avoid creating new blind spots.
Regular Maintenance
At Shielded Residence, we not only provide reliable security systems but also stress the importance of regular maintenance. From checking connections to updating software, these steps ensure your system functions seamlessly.
Checking camera connections is essential, especially for wired cameras. Loose connections can lead to poor performance. For wireless models, checking battery levels often prevents downtime.
Also, reviewing recorded footage helps make sure the cameras work correctly. This can catch any issues like storage problems before they become a bigger deal.
Setting a maintenance schedule can help. Regular checks ensure everything functions as it should. It can also help identify areas needing adjustments or upgrades over time.
By following these tips, anyone can set up indoor cameras that help keep their home safe.
FAQ
What’s the best way to place cameras on each floor for complete coverage?
When installing security cams on your ground floor and second floor, focus on high-traffic areas like the front door and living room. Position cameras high in corners to maximize field of view and keep an eye on large areas. A wide angle or pan tilt camera helps cover more space efficiently.
How do I choose between wired setup and wireless cam options?
Wired systems typically offer better video quality and more reliable connections than wireless options. While wired cameras need a power cable and network connection, wireless cams depend on battery life and fi signal strength. Consider your power source availability and fi network stability when deciding.
What storage options should I consider for my camera system?
You can choose between local storage using a dvr box with a hard drive, or cloud storage for your video footage. Local storage gives you more storage space but requires maintenance, while cloud storage offers convenient remote access but may have subscription fees. Consider your video quality needs when calculating storage requirements.
How can I ensure optimal image quality and avoid poor video performance?
To maintain good dynamic range and image quality, mount your cameras away from direct sunlight. Configure the right ip address and network video settings. Proper camera mount positioning and viewing angle are crucial for clear digital video recording.
What are the essential easy steps for DIY security camera installation?
Start with a step guide: plan your camera types and cctv system layout, gather tools like fish tape for wiring, drill holes if needed, connect to power supply, and set up your cameras high with proper camera mount. For ptz cameras and ip cameras, ensure strong fi network connectivity.
How do security cameras effectively deter crime and protect my home?
Cctv security cameras offer 24/7 monitoring capabilities to deter crime. Strategic placement lets you keep an eye on critical areas. Network video recorders with local storage or cloud storage help maintain video footage for evidence if needed.
What power sources work best for different camera types?
For wired camera systems, consider standard power sources through a power supply unit. Some cameras offer solar panel compatibility for outdoor use. Battery-powered wireless options provide flexibility but require regular charging. Consider your power cable routing options during installation.
What factors should I consider when choosing the best spots for cameras?
Focus on high-traffic areas and best spots like the front door, living room, and entry points on both ground floor and second floor. Consider the viewing angle and field of view needed. For large area coverage, ptz cameras or wide angle lenses work well.
How much storage space do I need for my CCTV system?
Storage needs depend on your video quality settings, number of cctv cameras, and recording schedule. Digital video requires significant storage space – plan your local storage or cloud storage based on how long you want to keep video footage. Consider upgrading during black friday sales.
What features should I look for when selecting camera types?
Look for cameras that offer good dynamic range, reliable remote access, and appropriate video storage options. Consider if you need special features like pan tilt capabilities or wide angle lenses. Compare different cameras high-end features against your specific needs and deter crime goals.
End Note
To sum up, creating a safer home doesn’t have to be complicated. Following these straightforward tips—like choosing the right locations, testing setups, and ensuring regular maintenance—lays a solid foundation for security. At Shielded Residence, we enhance this foundation with our tailored security solutions, helping homeowners achieve peace of mind with ease and expertise. Your safety is our priority.
References
- https://www.techradar.com/how-to/security-camera-installation-8-tips-from-the-pros
- https://www.cnet.com/home/security/best-places-to-install-security-cams-for-homeowners/