Smart Locks: How to Change Battery on Home Security Panel
Changing the battery on a home security panel or smart lock is like feeding a pet for many homeowners. They don’t wanna forget, or things could get messy. Statistics show that around 50% of smart lock users forget to change their batteries, which is a surprising number. (1)
Imagine a family coming home, only to find their smart lock isn’t working because they neglected a simple task. But there’s no need to panic! With a little guidance, anyone can keep their security devices in check. If you’re curious about how to make sure your home stays safe, keep reading to discover the easy steps!
Key Takeaway
- Gather the right tools like screwdrivers and replacement batteries.
- Always power down your devices before changing the batteries.
- Test your system after replacing the batteries to ensure it’s working.
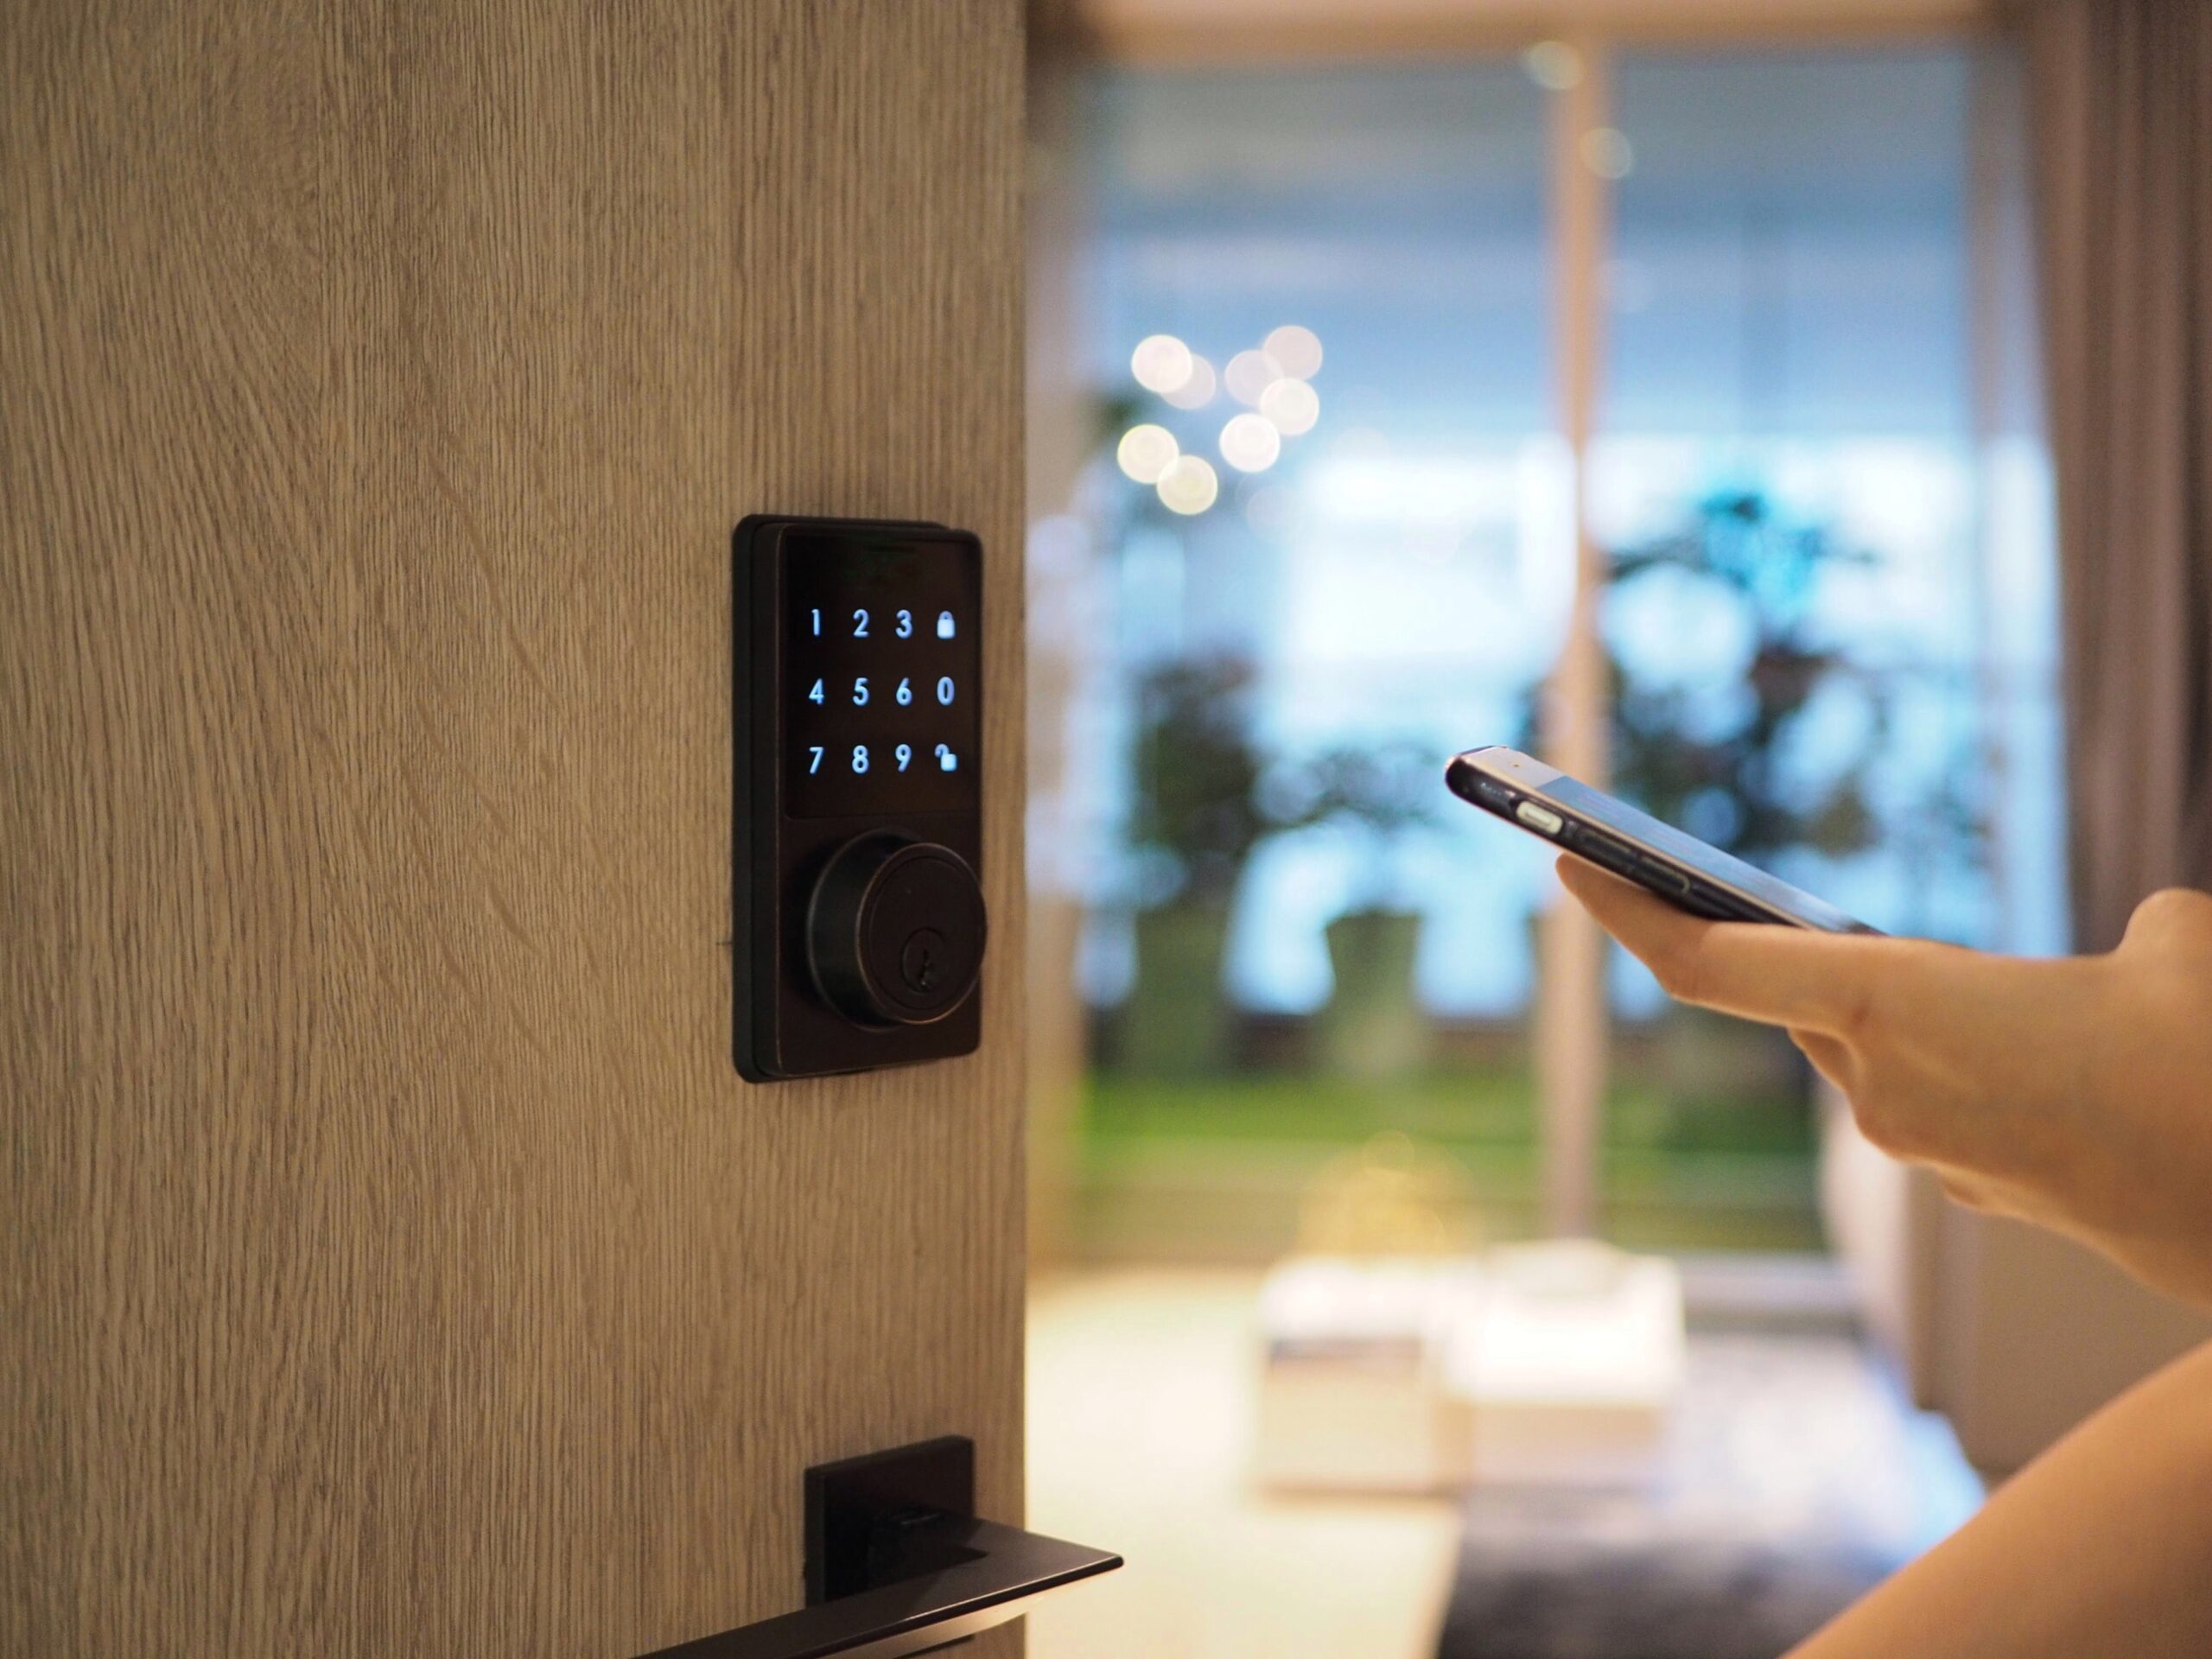
General Steps for Changing Batteries in Smart Locks
Credits : TELUS
Gather Necessary Tools
First, it’s really important to gather the right tools. Homeowners might need a Phillips screwdriver or a flathead screwdriver to help with the job. Some smart locks even need an Allen key, so having that around is a good idea.
And don’t forget the batteries! Most smart locks take either AA batteries or CR123 batteries. If someone’s not sure, checking the manual that came with their lock can clear things up. Having everything ready makes the task quicker and easier.
Shielded Residence also offers comprehensive guides and assistance to help homeowners find the right tools and batteries for their security devices.
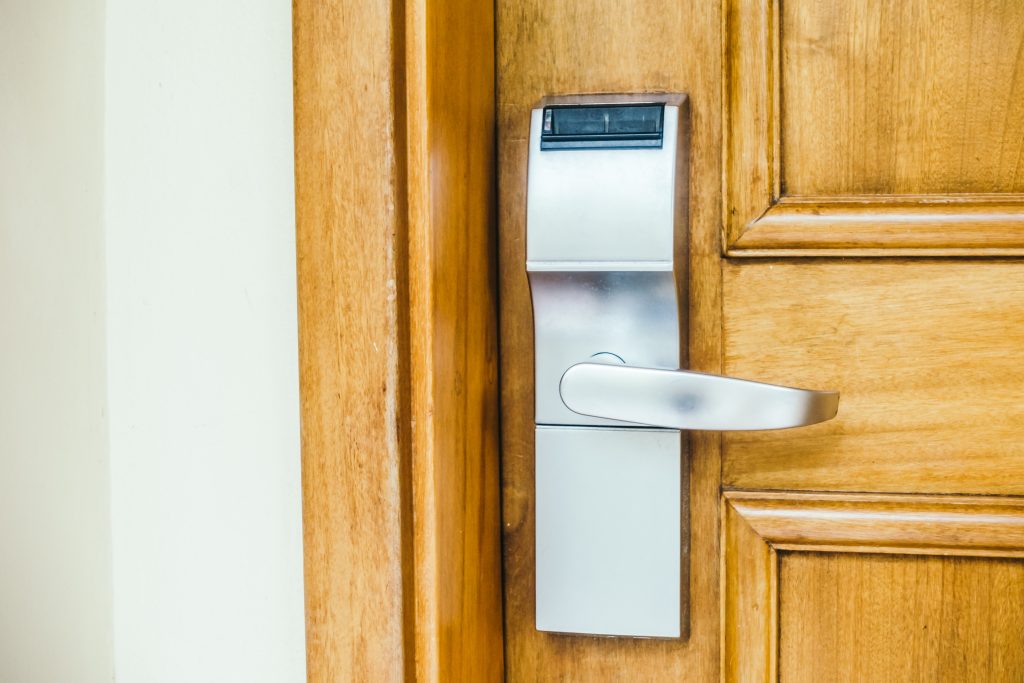
Identify Battery Location
Next, it’s time to play a little detective and find where the batteries are hiding. Smart locks can be sneaky; they often have their batteries tucked away on the back or under a cover. For security panels, it’s usually inside the control panel. These devices can feel like a puzzle, but once the battery compartment is found, that’s one step closer to success!(2)
Power Down the Device
Before anyone starts tinkering, it’s super smart to turn off the device first. This can help avoid any electrical hiccups. For example, unplugging the transformer from the wall outlet is a simple but important step. Doing this keeps everyone safe and protects the device from any mishaps when replacing batteries. Just a quick moment to power down can save a lot of trouble later.
Remove the Cover
Now, let’s get to the batteries! Carefully pulling or sliding off the battery cover is next. Smart locks might have screws that need to be taken out. Being gentle when removing the cover is key, especially if a screwdriver is involved. For alarm panels, there might be a set screw and release clips to handle. Patience is truly important here. Nobody wants to break a cover or lose a screw; that would just add more work.
Replace the Old Batteries
Now comes the fun part — switching out the old batteries! Homeowners should take out those old ones carefully. If there are wires, it’s important to disconnect them gently. Thankfully, the wires are usually color-coded, so it’s easy to remember. Red goes with red, and black goes with black.
When putting in new batteries, double-check that they’re facing the right way according to the + and – signs inside. This step is super important because if the batteries aren’t in right, the device won’t work.
Reattach Covers
Great job so far! Now it’s time to piece everything back together. Carefully reattach the covers, making sure they fit snugly and align just right. Using screws if needed is a good idea. This part feels like putting the lid back on a jar after making cookies. It’s satisfying to see everything back in its proper place.
Reconnect Power
If the alarm system was worked on, the last step is plugging the transformer back into the outlet. After plugging it in, it’s best to wait a little bit. Sometimes, it takes a moment for the system to recognize the shiny new batteries. Giving it time to settle in is a smart move.
Test the System
Finally, it’s time to see if everything is working! Testing the smart lock or alarm system is a must to make sure everything is running smoothly. Homeowners might need to check their security app or website to confirm everything is operational. This step really matters because they want to ensure their home security is all set and ready to go!
Specific Instructions for Common Models
General Alarm System Panel
- First things first, disconnect power from the alarm system. It’s super important to make sure there’s no power running through the system before starting.
- Next, homeowners should find and carefully remove the old backup batteries inside the control panel. Being gentle while pulling them out is key.
- Then, it’s time to connect the new batteries. Following the color-coded terminals is a good idea—red goes to red, and black goes to black. This helps avoid any mix-ups!
- After that, reconnect the power and test to see if everything is working right. Checking functionality makes sure all is good!
If you’re unsure about your alarm system’s battery setup, Shielded Residence provides tailored support to ensure everything is installed and maintained perfectly.
Maintenance Tips
- First, it’s smart to keep an eye on battery levels. Most smart locks will give a little shout-out when the batteries are low. This can really help avoid any surprises when you least expect it!
- Homeowners should remember to change the batteries every 3–5 years for alarm systems. But this can change based on how much they use the system. Regular checks are super important to keep things running smoothly.
- A good idea is to write down when the last time the batteries were changed. This can serve as a helpful reminder for future changes. Keeping track like this helps everyone maintain their security system and ensures it’s always ready to go!
Conclusion
Changing the battery on smart locks and home security panels is really straightforward. With the right tools in hand, powering down the devices first, and carefully following the steps, anyone can tackle this job. Regular maintenance helps keep home security effective and reliable.
Remembering to keep track of battery changes is like adding an extra layer of safety, which gives peace of mind. It’s important to keep those locks charged and ready to protect what matters most. So, don’t wait too long—stay on top of battery changes and ensure everything is working as it should!
At Shielded Residence, we’re dedicated to helping you maintain a secure home. From tailored solutions to round-the-clock monitoring, our services are designed to keep you and your loved ones safe with ease.
FAQ
How do I change the battery on a keypad door lock?
To change the battery on a keypad door lock, locate the battery compartment, usually on the interior side of the door. Slide the battery cover off, remove the old batteries, and replace them with new ones, like AA alkaline batteries. Then, replace the cover securely.
What should I do if my smart lock battery dies unexpectedly?
If your smart lock battery dies, use the physical key to unlock the door temporarily. Some locks may allow backup power through alternative power sources, like a battery pack, until you replace the batteries.
How do I know when the battery on my door lock is running low?
Most smart door locks send a low battery notification to the mobile app or show a warning on the keypad. Test the lock regularly to avoid surprises, especially if the battery is low.
What type of battery should I use for a smart lock?
Check your smart lock’s manual for the type of battery it requires. Common options include AA alkaline batteries or specialty batteries available at specialty battery stores. Always use the recommended type for optimal battery life.
How do I replace the battery on the interior side of a smart door lock?
To replace the battery, remove the interior cover on the side of the door. Slide the battery cover off, remove the old batteries, and dispose of them properly. Insert new ones, and securely replace the cover.
What steps do I follow to temporarily power the lock if the battery dies?
Some keypad door locks offer backup power options. Temporarily power the lock by connecting a battery pack or using a designated power port. This lets you unlock the door until you replace the smart lock batteries.
How often should I replace the batteries in my smart security system locks?
Battery life varies by brand and usage. Test the lock periodically, and change the batteries when you receive a low battery notification or every 6-12 months to ensure consistent performance.
Can I use rechargeable batteries for my electronic door lock?
While rechargeable batteries can work in some locks, most electronic door lock manufacturers recommend using non-rechargeable batteries, like AA alkaline, to maintain consistent power and avoid performance issues.
How do I change the batteries in a keypad door lock if it’s not responding?
If the keypad lock is not responding, remove the interior cover to locate the battery pack. Slide the battery cover off, remove the old batteries, and insert new ones. Replace the cover and test the lock to ensure it’s working.
Why is my security system’s smart lock not responding after a battery change?
If your smart lock isn’t responding after changing the batteries, ensure the batteries are correctly installed and the cover is securely replaced. Test the lock again, and check for any other power sources that may need attention.
References
- https://help.homebase.ai/en/articles/6732901-how-to-change-batteries-in-your-smart-lock
- https://support.vivint.com/article/Smart-Lock-9910-Change-Batteries