Wired Camera Cable Management Made Easy
Most people don’t think about cable management until they’re staring at a tangled mess of wires, wondering how it got so bad. It’s relatable, really—security cameras are great for peace of mind, but those dangling cables? Not so much. Studies even show that 60% of homeowners feel stressed about how visible wires can ruin the look of their space.
The good news? Managing those cables doesn’t have to be complicated. With a little planning and some basic tools, anyone can make their setup look clean and professional. Curious how to make it happen? Stick around for some practical tips that actually work.(1)
Key Takeaway
- Planning camera locations is important for effective monitoring.
- Use tools like cable clips to keep everything tidy.
- Always test each camera after installation.
Identify Camera Locations
Credits : Bro Experts
Figuring out where to put your cameras is a big deal. First, think about the spots that need the most watching—like front doors, back doors, driveways, or windows. These are the places where trouble might happen, like break-ins or other issues.
Then, think about the angle each camera will have. You want it to cover a wide area without missing anything important. If the camera’s too high, it might not catch details you need. Too low, and someone could mess with it. A good middle height works best—high enough to be safe but low enough to see clearly.
Shielded Residence recommends assessing lighting conditions carefully to optimize camera performance. Our experts can help you determine whether additional lighting, such as motion-activated options, is necessary for specific areas. Look for areas with natural light, or plan to add a light nearby. This helps the camera work better at night or in dim conditions.
Plan Cable Routes
Once the camera spots are picked, it’s time to figure out where the cables will go. Planning this part is super important for keeping things looking nice and working safely. The first step? Find the best paths to hide the wires. Most people run them through walls or along the edges of baseboards so they’re out of sight.
Hiding the cables isn’t just about looks—it also protects them. Wires that are out in the open can get damaged or even pulled out by someone. Plus, avoid running cables across places where people walk a lot. Nobody wants to trip over wires or deal with accidents.
After deciding the route, use cable clips and ties to keep the wires in place. This stops them from getting messy or tangled. A neat setup not only looks better but also keeps the system working properly.
One more thing to think about is how far the cameras are from the recording device. Longer cables might need extra care to make sure they stay connected and safe. With a little planning, it’s easy to set up a system that works well and stays tidy.
Gather Necessary Tools and Materials
Before getting started with the installation, it’s smart to gather all the tools and materials you’ll need. Being prepared makes the whole process quicker and less stressful. Here’s a simple list of what’s needed:
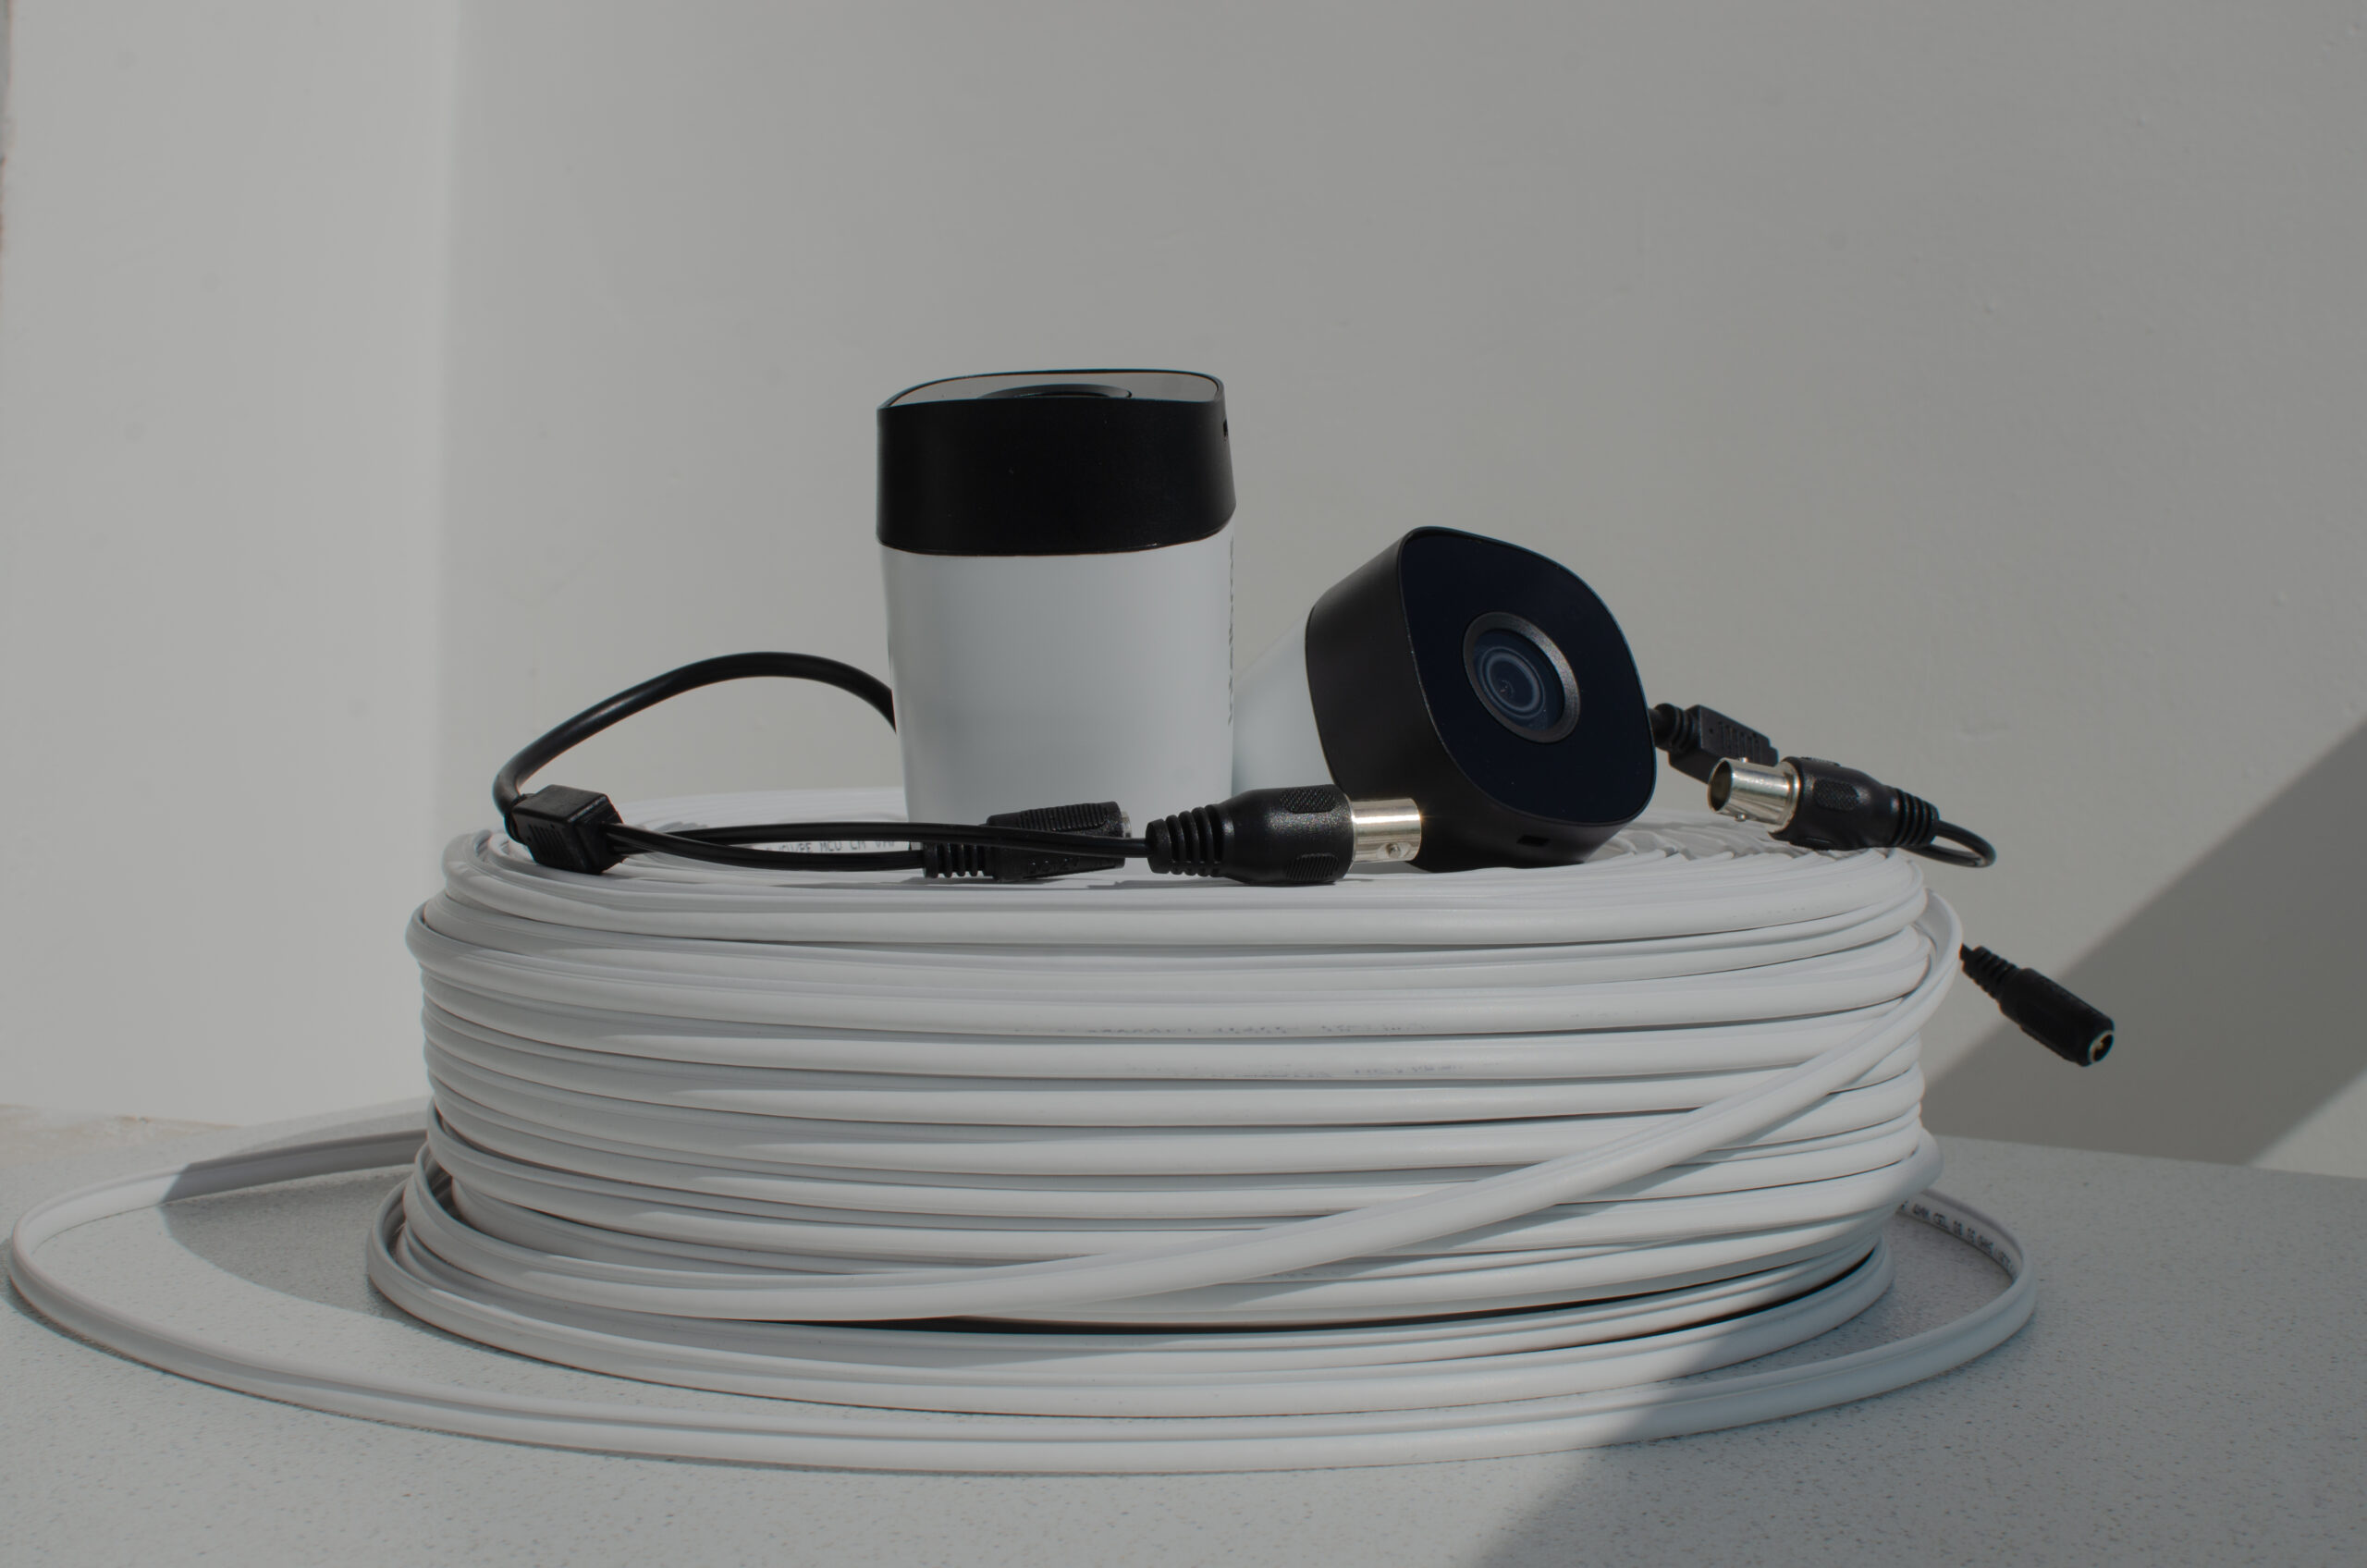
- Security Camera Cables: These connect the cameras to the recording system. Common ones are RG-59 Siamese or Cat5e Ethernet cables. The type you pick depends on how far the cameras are from the recorder. Longer distances might need special cables to keep the signal strong.
- Power Drill: A power drill is a must for making holes in walls. You’ll need it for running cables and mounting the cameras. Make sure you have the right drill bits for the material you’re working with, like wood, drywall, or concrete.
- Fish Tape: This tool is super helpful for pulling cables through walls. You just slide the fish tape into a hole, attach the cable, and pull it back through. It makes the job way easier and keeps the wires safe.
- Cable Clips and Ties: These keep the cables neat and secure. Clips attach wires to walls or baseboards, while ties bundle them together. This stops tangling and keeps everything looking clean.
- Wire Strippers and Crimping Tools: Wire strippers take off the insulation from cable ends so you can make connections. Crimping tools help attach connectors to the cables, making sure everything stays in place.
- Digital Video Recorder (DVR) or Network Video Recorder (NVR): This is where the video from the cameras gets stored. Pick one that matches your camera system and has enough space for the footage you want to save.
Having all these ready to go before you start makes the whole setup smoother. It saves time and keeps everything organized, so you’re not running around looking for tools in the middle of the job.
Turn Off Power

Safety comes first when working with anything electrical. Before starting the installation, turning off the power is a must. It’s a simple step, but it can prevent accidents like electrical shocks or injuries. Nobody wants that.
To turn off the power, find your home’s main electrical panel. It’s usually in the basement, garage, or a utility room. Open it up, and you’ll see circuit breakers. Each one controls power to a different part of the house. Flip off the breaker for the room where you’ll be working. If you’re not sure which one it is, it’s safer to just turn off the main switch, which cuts power to the whole house.
Once the power is off, double-check it. A voltage tester is a handy tool for this. Just touch it to the wires, and it’ll let you know if there’s still electricity. If the tester shows no power, you’re good to go.
Also, let everyone in the house know the power is off. This avoids any surprises, like someone flipping it back on while you’re working. These small steps go a long way in keeping everyone safe and making the project run smoothly. Safety first, always.
Drill Access Holes
- Mark Locations: The first step is to grab a pencil and mark where the camera mounts and cable holes will go. This part is super important because it helps you figure out exactly where everything should be. Think about the best spots for the cameras to get a clear view and how the cables will run. When marking, make sure the holes are in the right place so the cameras can see what you need them to see.
A good trick is to hold the camera mount up to the wall first. This helps you see exactly where it’ll go before you drill. Check the area for obstacles like furniture or anything else that might get in the way. Also, look for nearby outlets—it’s always easier to plug in the cameras if an outlet is close by.
- Drill Holes: Once the spots are marked, it’s time to drill. Use a drill bit that matches the size of your cables and mounts. The holes need to be just big enough for the cables to fit through, but not so big that they mess up the wall.
Go slow and steady while drilling. Be careful not to hit any hidden wires or pipes in the wall.
If you’re not sure, a stud finder can help you figure out where those things might be. Always drill straight so the holes look neat and clean.
After you’re done, double-check the size of the holes. If they’re too small, it’s better to carefully make them a bit bigger than to force something through and damage the wall. Taking your time with this step makes the rest of the installation easier and helps keep the cameras secure. A little extra care here goes a long way!
Run Cables
- Use Fish Tape: Once the holes are drilled, it’s time to run the cables. Fish tape makes this part a lot easier. It’s a long, bendy tool that helps guide wires through walls. Start by sliding the fish tape into one of the holes you drilled. Then, attach the end of the camera cable to the fish tape using some electrical tape to hold them together.
After that, gently pull the fish tape back out through the hole. As you pull, the camera cable will follow along through the wall. Go slow and be careful not to yank too hard—if the cable gets stuck, don’t force it. Try adjusting the angle or giving it a little push to free it up.
This way, you won’t damage the cable or make a mess inside the wall.Having a helper can make this step easier. One person can feed the cable into the wall while the other pulls the fish tape. It’s faster and less frustrating when you’ve got an extra set of hands.
- Secure Cables: Once the cables are where they need to be, it’s time to secure them. Use cable clips to attach the wires neatly along walls or baseboards. Space the clips out evenly so they hold the cables in place without looking messy.
For any extra cable length, grab some cable ties to bundle it up. This keeps things tidy and stops the cables from getting tangled.
A clean setup not only looks better but also keeps people from tripping over loose wires.Make sure the cables aren’t pulled too tight. Leave a little slack so they don’t get damaged over time.
After everything’s in place, it’s a good idea to check the cables now and then to make sure they’re still secure and in good shape. These small steps go a long way in keeping your camera system safe and organized.
Connect Wires
- Strip Wire Ends: The first step is to get the wires ready. Grab a pair of wire strippers and carefully remove the insulation from the ends of each wire. This is important because the bare wire needs to touch other wires or connectors to make a solid connection. Be gentle—if you strip the wire too roughly, you could damage it.
You don’t need to expose a lot of wire. About half an inch of bare metal is usually enough. After stripping, take a quick look at the wires to make sure they’re not frayed or broken. If they are, it’s better to replace them now than deal with problems later.
Taking your time here really pays off. Properly stripped wires make for stronger connections, which means your camera system will work better and last longer.
- Splice Wires: Now it’s time to connect the wires. You can use crimp connectors or just twist the wires together. If you’re using crimp connectors, slide the stripped ends of the wires into the connector and use a crimping tool to lock them in place. This makes a sturdy connection that won’t come loose easily.
If you’re twisting the wires, make sure to twist them tightly so they stay together. Once they’re connected, wrap the exposed wires with electrical tape. This step is really important—it keeps the wires safe and prevents short circuits, which can mess up the whole system or even be dangerous.
Before moving on, it’s a good idea to test the connections. A multimeter or cable tester can help you check if everything’s working properly. This quick test can save you a lot of trouble later by catching any issues now. Strong, secure connections mean your camera system will run smoothly.
Mount Cameras
- Attach Mounting Brackets: Once the wires are all set, it’s time to put up the cameras. Start by attaching the mounting brackets. Use screws and anchors to make sure they’re secure. If you’re working with drywall, anchors are a big help—they keep the screws from coming loose over time.
Remember those spots you marked earlier? That’s where the brackets should go. Double-check that they’re lined up right before screwing them in. It’s also a good idea to use a level to make sure the brackets aren’t crooked. A straight bracket means the camera will capture clear, steady footage without any weird tilts.
- Install Cameras: With the brackets in place, now you can attach the cameras. Carefully secure each one to its bracket, making sure it’s pointing in the right direction. Adjust the angle so the camera covers the area you want to watch.
Before tightening everything down, take a moment to test the camera view.
This makes it easier to tweak the angle if needed. Once you’re happy with how it’s positioned, tighten the screws to lock it in place. A well-mounted camera will stay secure and give you a clear view, helping keep everything safe and sound.(2)
Conceal Wires
To make everything look clean and organized, it’s a good idea to hide the wires. Nobody likes a messy setup with cables hanging everywhere.
- Use Conduits or Wall Plates: One way to keep the wires out of sight is by using conduits or wall plates. Conduits are like little tubes that cover and protect the cables. The nice thing is, you can even paint them to match the wall so they blend in better. Wall plates are another option—they cover the spots where the cables come out of the wall, giving it a neat and finished look.
- Hide Cables: Another trick is to tuck the cables behind furniture or run them along the edges of walls. This keeps them out of the way and makes the whole setup look more polished. Plus, it helps prevent accidents since loose cables can be a tripping hazard.
Shielded Residence specializes in clean and professional installations, using conduits and wall plates to ensure a polished finish that blends seamlessly with your home decor. It’s a small step that makes a big difference.
Power Up and Test
- Connect Power Supply: With everything set up, it’s time to get the system running. Start by plugging in the power supply. Follow the instructions that came with your system—this might mean connecting power adapters to each camera or plugging them into the recording device. Double-check that everything is plugged in snugly so there’s no loose connection.
- Test Each Camera: Once the power is on, turn on the system and check each camera. Look at the monitor or recording device to make sure you’re getting a clear video feed from every camera. If something looks off, like a bad angle or blurry view, adjust the camera until it’s just right. This is your chance to make sure everything is working the way it should.
Testing is super important because it helps you catch any problems right away. If a camera isn’t working, go back and check the cables and connections. Fixing issues now will save you a lot of hassle later. A quick test can make all the difference!
Final Inspection
Take a little time to do a final check of the whole setup. It’s worth it to make sure everything is working just right.
- Check Connections: Go over all the connections one more time. Make sure the wires are tight and secure, both for the power and the cameras. Loose connections can cause problems later, like cameras not working or cutting out.
- Check Recording: Look at the recording device to make sure the cameras are actually recording. You should be able to see the video feeds clearly and confirm that everything is being saved properly.
- Address Issues: If something isn’t working, now’s the time to fix it. Maybe a wire needs to be reconnected, or a camera angle needs tweaking. It’s better to handle any problems now than to deal with them later.
Doing this final inspection helps make sure the system is ready to go. Everything should run smoothly, giving you a reliable setup that keeps your space secure. A little extra effort here goes a long way!
Conclusion
At Shielded Residence, we understand that home security is as much about functionality as it is about aesthetics. Let us help you transform your security setup into a professional-looking, reliable system that keeps your home safe and clutter-free.Taking the time to hide wires, secure connections, and test everything ensures the cameras work properly and look good too.
A neat setup not only improves how the system functions but also keeps your space safe and clutter-free. Whether it’s securing your home or business, a little effort upfront goes a long way. Following these steps makes the process easier and leaves you with a reliable and professional-looking camera system.
FAQ
How can I hide security camera wires and protect the wires from the elements?
Hiding security camera wires is essential for a neat and durable setup. You can use wire molding, wire covers, or run wires through walls for concealment. To protect the wires from the elements outdoors, consider wires underground or weatherproof materials. Use cable ties to secure them and follow safety guidelines like the national electric code.
What is the best way to install security camera wiring and ensure optimal performance?
The best way to install security camera wiring involves following a step guide. Use appropriate camera wire types like Cat6 cables or coaxial cable depending on your setup. Ensure the power supply and cable connections are secure for optimal performance. Running wires inside walls or using a wall plate can make the installation cleaner.
Can I use a heat gun during security camera installation to manage cables?
Yes, a heat gun can help shrink heat-shrink tubing for splicing security camera wires. This method ensures a durable connection and protects the wires. Make sure to follow safety precautions and use it only for cable types compatible with heat-shrink tubing.
What types of security camera cables are best for outdoor security cameras?
For outdoor security cameras, Cat6 Ethernet cables or power over Ethernet cables are great for IP cameras. Use coaxial cable for analog security cameras. Always ensure the wires for your security cameras are weatherproof or protected by wire covers, wire molding, or buried underground.
How do I run security camera wires through walls without damaging the structure?
Running security camera wires through walls requires tools like wire strippers and a wall plate. Mark where the wires will go and carefully drill holes. Use a camera wiring diagram to guide the process, and a table of contents for reference if following a detailed installation process.
References
- https://worldstarsecuritycameras.com/10-clever-ways-to-run-security-camera-cables-without-roof-access/?srsltid=AfmBOopnJGRuaigtBnH2VF1UfJsDTcYUSOVrQa3TjFIClPzLmxQ-e-ac
- https://www.wired.com/review/philips-hue-secure-wired-camera/